How to Unlock Bitlocker Drives in WinPE
Create a WinPE bootable ISO or CD with Bitlocker Support.

If you need to access the contents of a Bitlocker-locked drive in Windows Preinstallation Environment, you’ll need a Window PE that supports Bitlocker operations.
Requirements
- Install the Windows ADK and Windows PE Add-on on your computer. This guide will be using Windows ADK for Windows 10 and Add-on version 2004.
- You should know your drive’s Bitlocker recovery key(s).
Creating the WinPE Bootable Image / Media
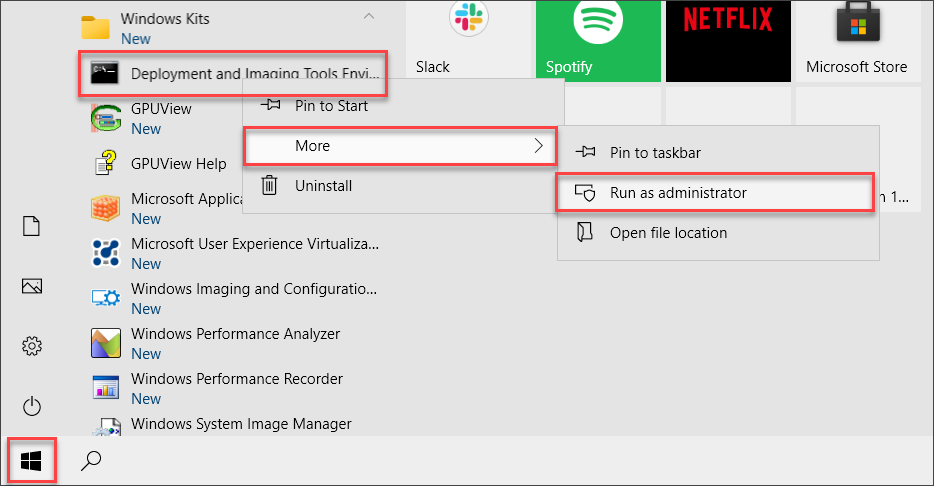
Run Deployment and Imaging Tools Environment as administrator.
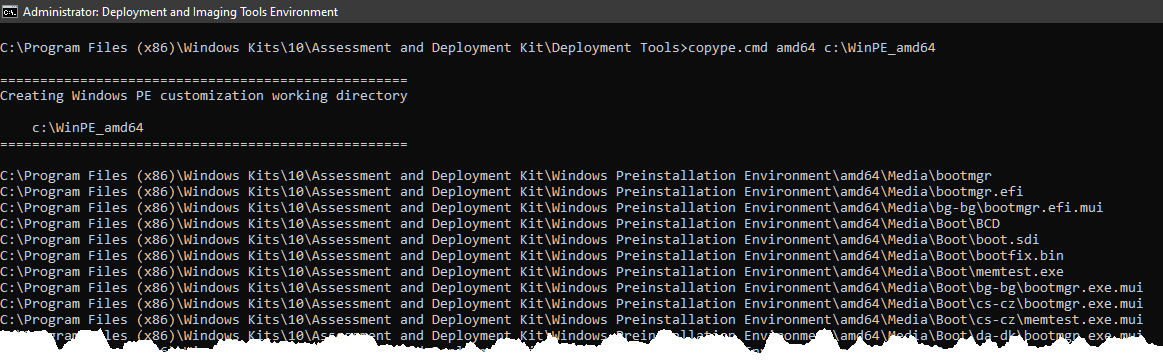
Run the command below to copy the working files to the c:\WinPE_amd64 directory. You can use any directory you want.
1
 copype.cmd amd64 c:\WinPE_amd64
Mount the WinPE Image.
1
 Dism /Mount-Image /ImageFile:"C:\WinPE_amd64\media\sources\boot.wim" /Index:1 /MountDir:"C:\WinPE_amd64\mount"

Add the BitLocker-required package to the Win PE image by running the commands below, one at a time.
1
2
3
4
5
6
7
8
9
10
11
12
13
14
15
16
17
18
19
20
21
 Dism /Image:"C:\WinPE_amd64\mount" /Add-Package /PackagePath:"C:\Program Files (x86)\Windows Kits\10\Assessment and Deployment Kit\Windows Preinstallation Environment\amd64\WinPE_OCs\WinPE-WMI.cab"

 Dism /Image:"C:\WinPE_amd64\mount" /add-package /packagepath:"C:\Program Files (x86)\Windows Kits\10\Assessment and Deployment Kit\Windows Preinstallation Environment\amd64\WinPE_OCs\en-us\WinPE-WMI_en-us.cab"

 Dism /Image:"C:\WinPE_amd64\mount" /Add-Package /PackagePath:"C:\Program Files (x86)\Windows Kits\10\Assessment and Deployment Kit\Windows Preinstallation Environment\amd64\WinPE_OCs\WinPE-NetFx.cab"

 Dism /Image:"C:\WinPE_amd64\mount" /add-package /packagepath:"C:\Program Files (x86)\Windows Kits\10\Assessment and Deployment Kit\Windows Preinstallation Environment\amd64\WinPE_OCs\en-us\WinPE-NetFx_en-us.cab"

 Dism /Image:"C:\WinPE_amd64\mount" /add-package /packagepath:"C:\Program Files (x86)\Windows Kits\10\Assessment and Deployment Kit\Windows Preinstallation Environment\amd64\WinPE_OCs\WinPE-EnhancedStorage.cab"

 Dism /Image:"C:\WinPE_amd64\mount" /add-package /packagepath:"C:\Program Files (x86)\Windows Kits\10\Assessment and Deployment Kit\Windows Preinstallation Environment\amd64\WinPE_OCs\en-us\WinPE-EnhancedStorage_en-us.cab"

 Dism /Image:"C:\WinPE_amd64\mount" /add-package /packagepath:"C:\Program Files (x86)\Windows Kits\10\Assessment and Deployment Kit\Windows Preinstallation Environment\amd64\WinPE_OCs\WinPE-Scripting.cab"

 Dism /Image:"C:\WinPE_amd64\mount" /add-package /packagepath:"C:\Program Files (x86)\Windows Kits\10\Assessment and Deployment Kit\Windows Preinstallation Environment\amd64\WinPE_OCs\en-us\WinPE-Scripting_en-us.cab"

 Dism /Image:"C:\WinPE_amd64\mount" /add-package /packagepath:"C:\Program Files (x86)\Windows Kits\10\Assessment and Deployment Kit\Windows Preinstallation Environment\amd64\WinPE_OCs\WinPE-FMAPI.cab"

 Dism /Image:"C:\WinPE_amd64\mount" /add-package /packagepath:"C:\Program Files (x86)\Windows Kits\10\Assessment and Deployment Kit\Windows Preinstallation Environment\amd64\WinPE_OCs\WinPE-SecureStartup.cab"

 Dism /Image:"C:\WinPE_amd64\mount" /add-package /packagepath:"C:\Program Files (x86)\Windows Kits\10\Assessment and Deployment Kit\Windows Preinstallation Environment\amd64\WinPE_OCs\en-us\WinPE-SecureStartup_en-us.cab"

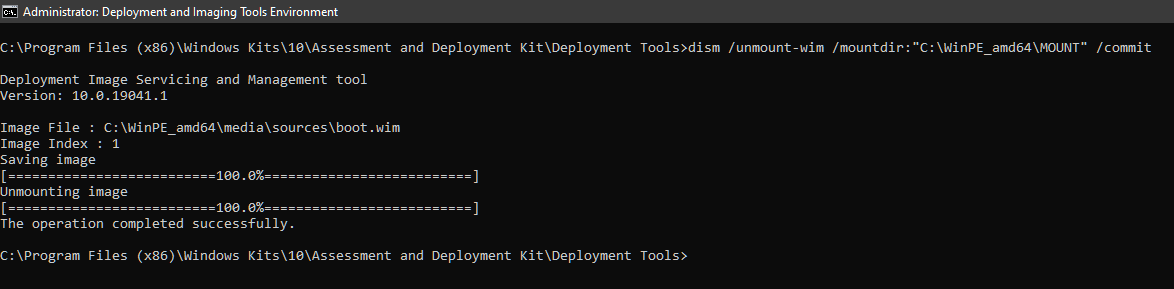
Unmount the WinPE image and commit the changes.
1
 dism /unmount-wim /mountdir:"C:\WinPE_amd64\MOUNT" /commit
Create the bootable WinPE image / media.
WinPE ISO – This command will create the ISO in C:\WinPE_amd64\WinPE_amd64.iso. To use this image, you will need to burn the ISO to a CD or DVD. Another option is to create a bootable USB drive with it using a utility like Rufus.
1
  MakeWinPEMedia /ISO C:\WinPE_amd64 C:\WinPE_amd64\WinPE_amd64.iso
USB – This command will install WinPE to the USB drive U:
1
  MakeWinPEMedia /UFD C:\WinPE_amd64 U:
Unlocking a Bitlocker Drive in WinPE
- Boot to WinPE (CD or DVD). This process differs depending on your computer. You may need to make changes in your BIOS before you can successfully boot to a CD or USB.
Assuming that your Bitlocker drive is drive C, run the command below.
1
 manage-bde -unlock c: -recoverypassword [recovery key]

Now you can access the contents of the drive.