How to Manage Your DNS Records for Free with Cloudflare
Move your DNS management to Cloudflare for free.

In the previous article, you learned How to Get a Free Domain From Freenom. Now that you have a domain, you could continue managing your DNS records using the Freenom DNS tools if you wish.
But there is a limited type of DNS records you can add in Freenom. Lucky for you, you are not stuck with Freenom to manage your DNS records. Cloudflare offers free and more advanced features.
In this post, you’ll learn how to transition your DNS management away from Freenom to Cloudflare.
Creating a Free Cloudflare Account
Like many other products and services, Cloudflare offers a free basic account. Yes, Cloudflare lets you create a free account with basic support. A pretty good deal for beginners, would you agree? Follow these steps to register and activate your free Cloudflare account.
- Navigate to the Cloudflare sign-up page.
On the Get started with Cloudflare page, enter your email address and nominate a password for your new Cloudflare account. Ensure that you comply with the password complexity requirements stated on the page.
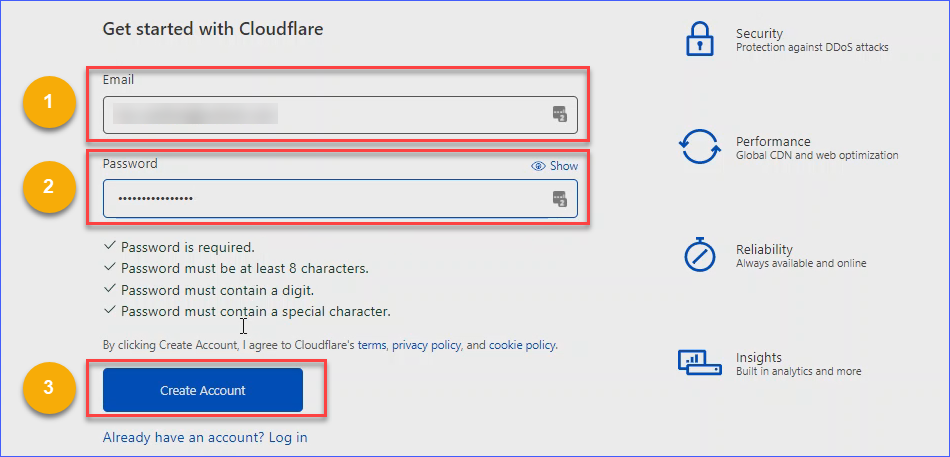
Sign up for a new Cloudflare account
Click on the Profile icon on the upper-right-hand side and click My Profile to verify your email address.
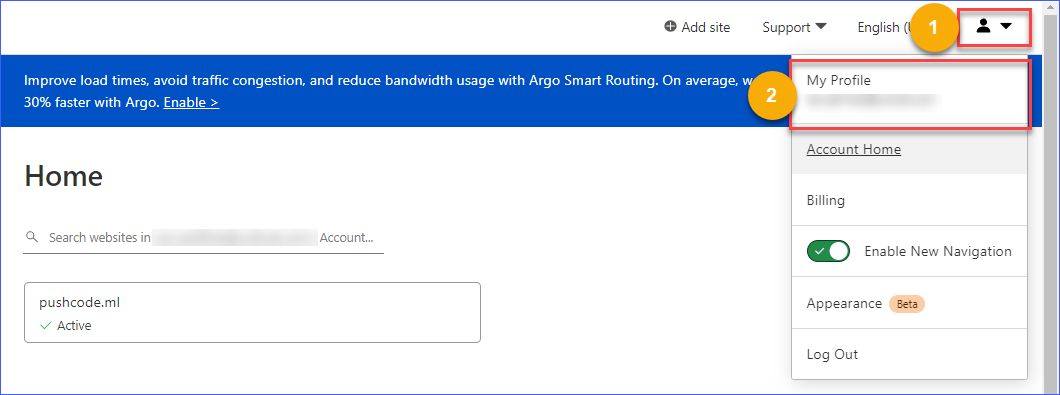
Open your Cloudflare profile page
Under Preferences and Email Address, click Send verification email.
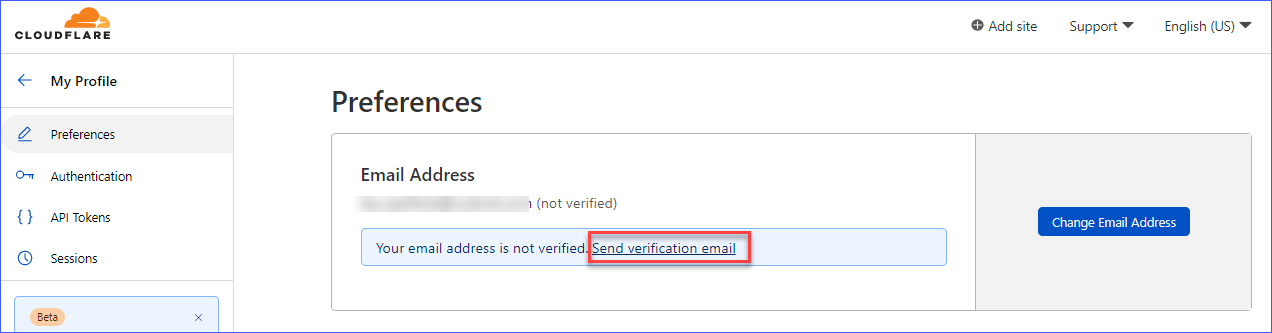
Send verification email
Log in to your email account, click the verification email from Cloudflare, and click the link to complete your sign-up.
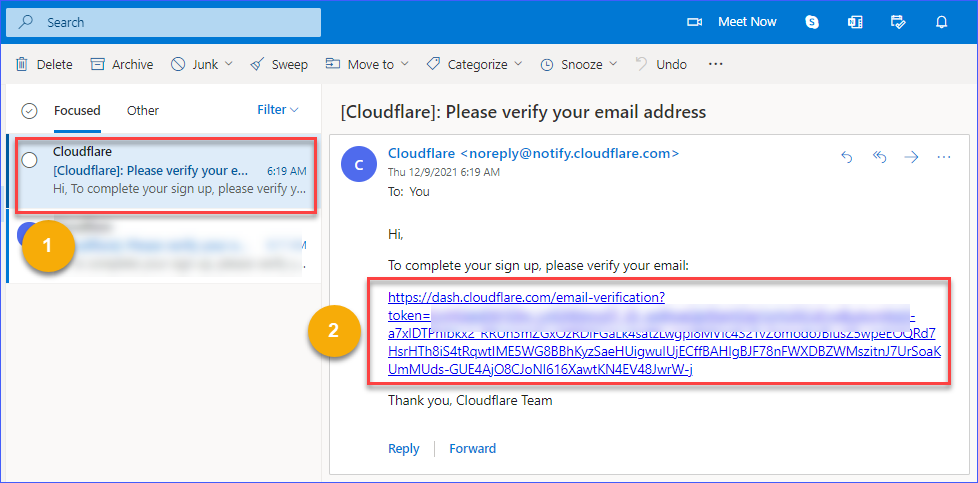
Verifying your email address
Once you’ve successfully verified your email address, you will see the following prompt below. Click Continue to the dashboard.
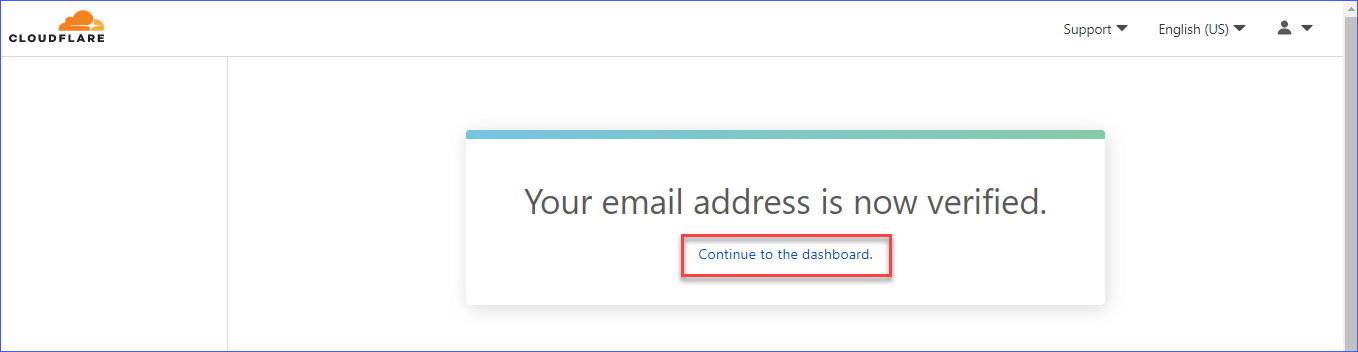
Continue to Dashboard
Adding Your Domain to Cloudflare
Now that you have access to a brand new Cloudflare account, the next step is to add your domain.
On your Dashboard, click Add a Site.

Click Add a site on the dashboard
Type in your domain and click Add site.
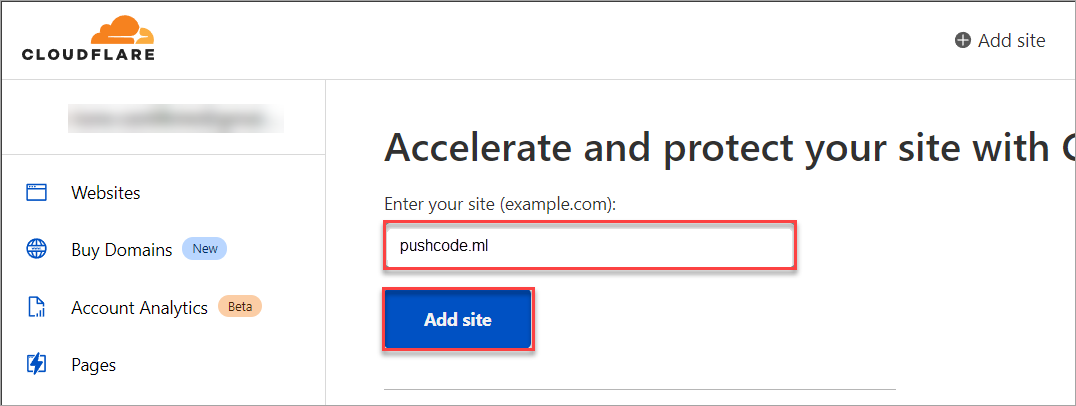
Enter your domain name
Scroll down and select Free from the available plans, then click Continue.
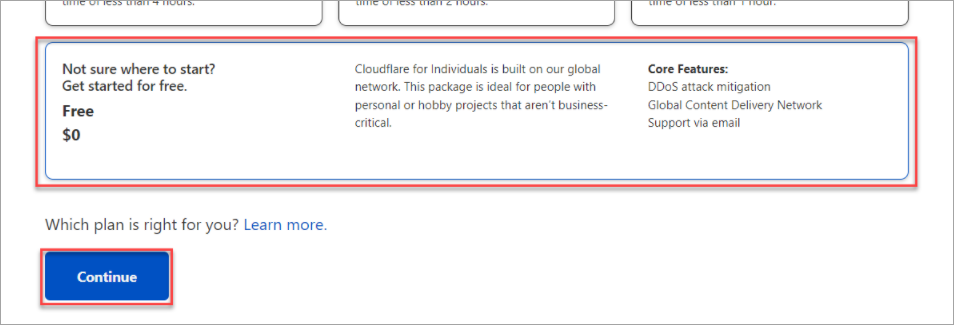
Select the free plan
Cloudflare will scan for existing DNS records of your domain after selecting the free plan and may take a few seconds to complete.
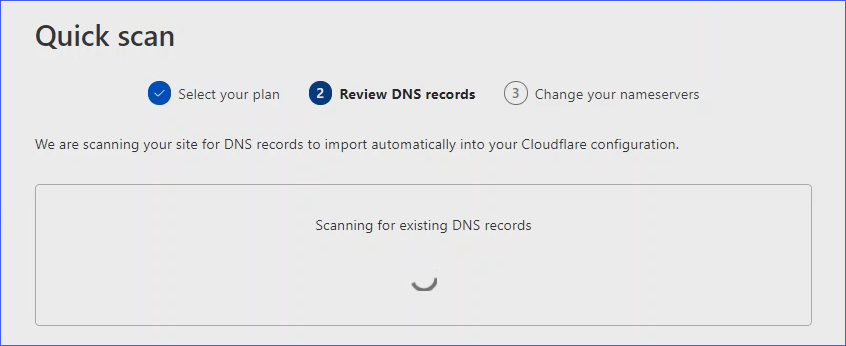
Quick scan
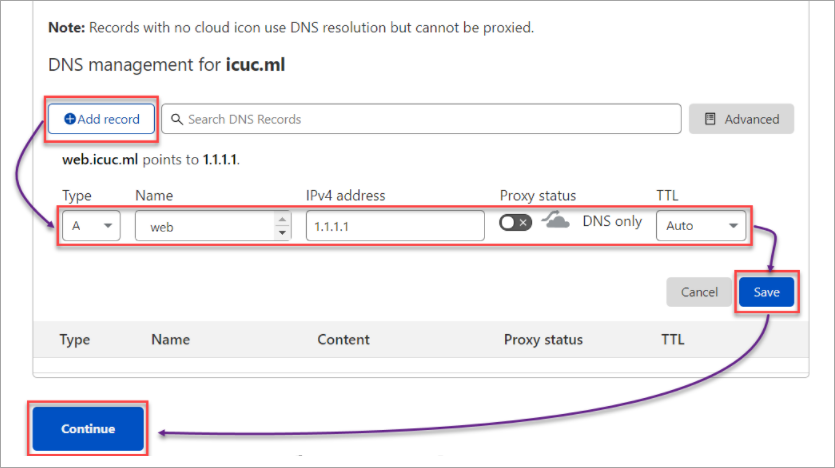
Create a new dummy DNS record so that you can proceed. Click Add record and enter the values exactly as shown below. Click Save when you’re done.
Make sure to copy both name servers below. You will need these in the succeeding steps.
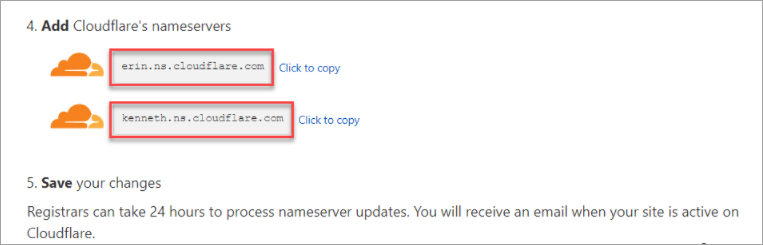
Copy the Cloudflare name servers
Changing to Cloudflare Nameservers
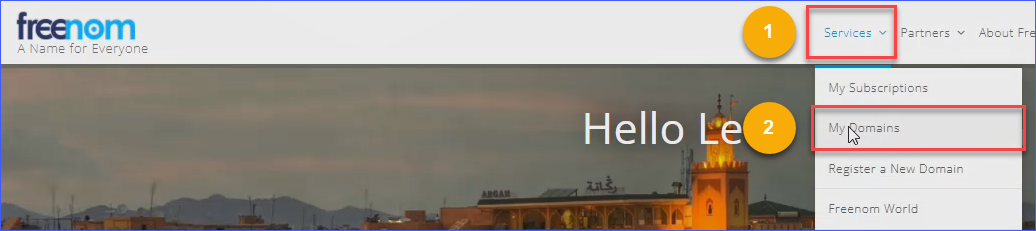
Open a new tab and log in to freenom.com. On the upper right-hand side, click Services and then click My Domains.
On the My Domains page click Manage Domain of the site you are setting up with Cloudflare.
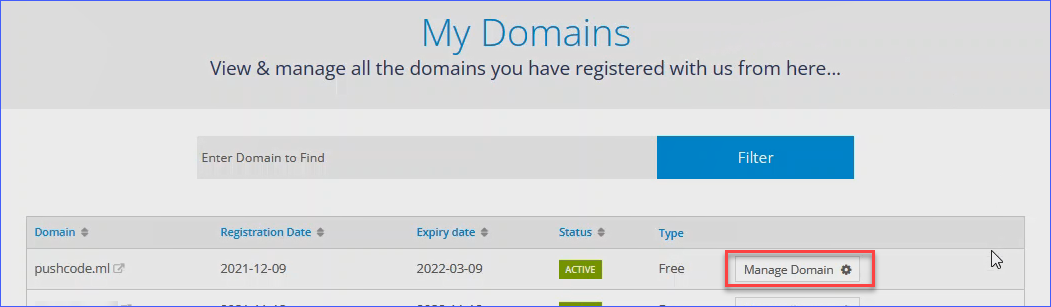
Click Manage Domain
Click the Management Tools dropdown and select Nameservers.
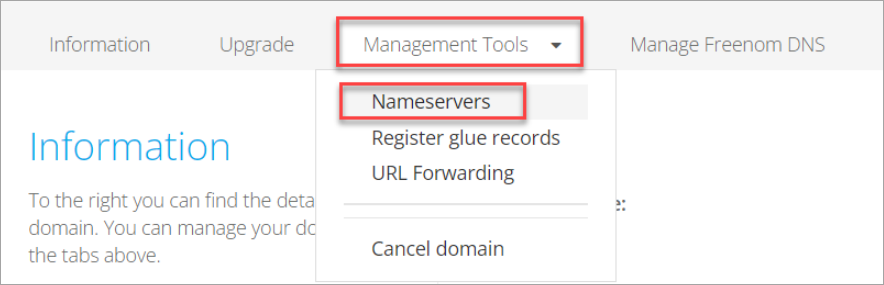
Open Nameservers page
Select Use custom nameservers and paste the nameservers you copied from Cloudflare on the Nameservers page. Lastly, click Change Nameservers.
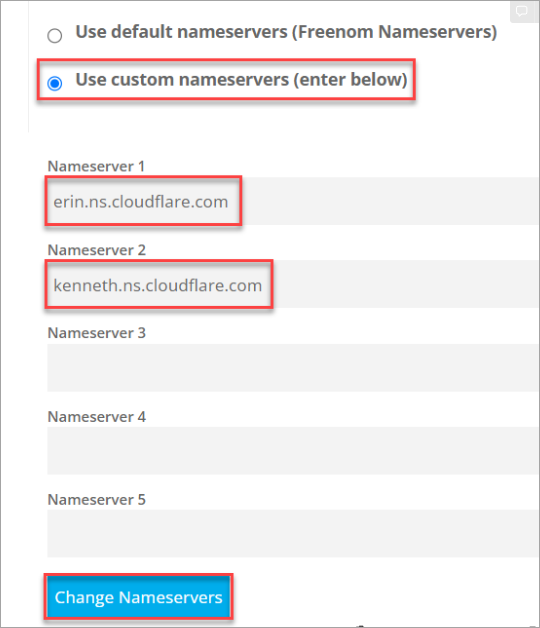
Select Use custom nameservers
Toggle back to the Cloudflare tab and click Done, check nameservers.
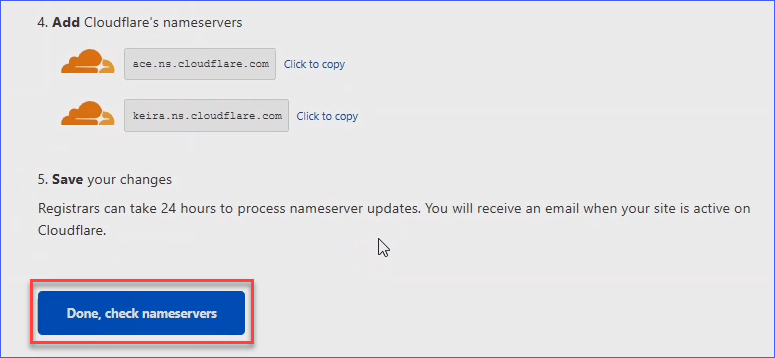
Check nameservers
Click Finish later on the Quick Start Guide page that follows.
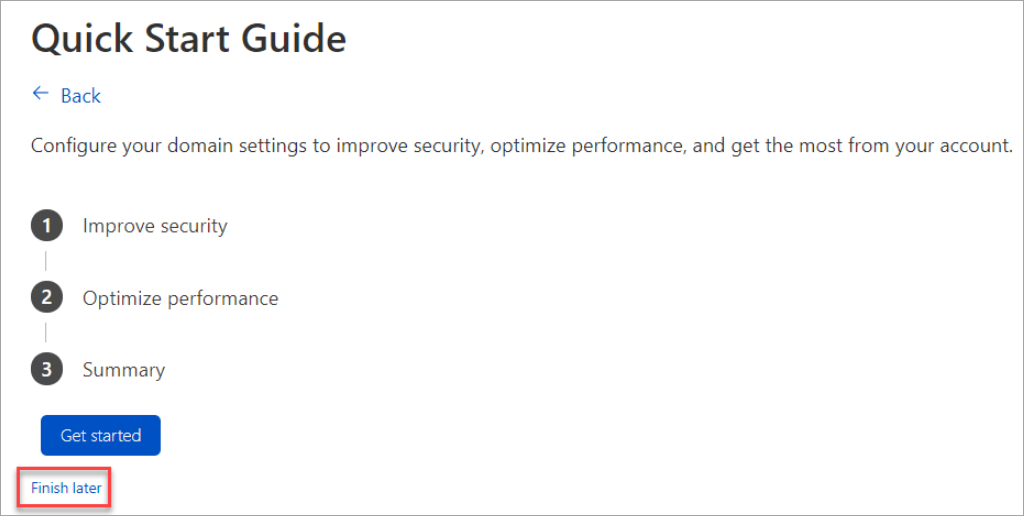
Click Finish later
Wait for the confirmation email. When Cloudflare confirms that you’ve successfully updated your domain’s nameservers, you will receive an email similar to the example below.
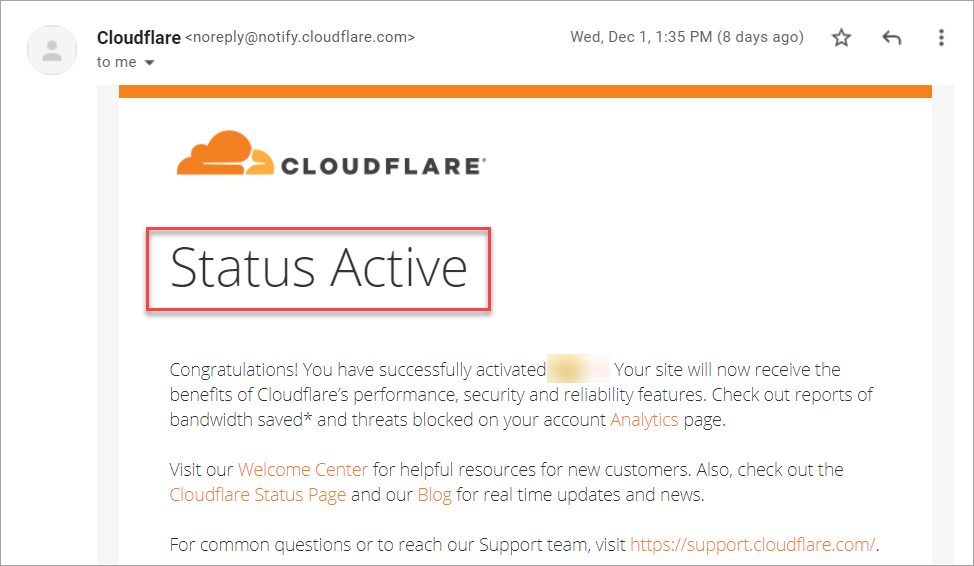
Site activation confirmation email
Congratulations! You can now start managing your DNS records in Cloudflare for a domain hosted in Freenom.
Conclusion
Cloudflare does not only allow you to manage your DNS records, but it also offers the following benefits: making your website load faster, securing your website and the Internet users that visit it.
Watch out for you our follow-up article on how to host your site with GitHub Pages. Thank you for reading!