Ways To Export Microsoft 365 Mailboxes to PST
This article suggests some useful ways to export Microsoft 365 mailboxes to PST in detail and discusses its advantage and limitations

Disclaimer: This article contains promotional content from Kernel Office 365 Backup and Restore
Why Export to PST?
The two most important reasons why any Microsoft 365 users would want to export its mailboxes to PST is when:
- Avoid potential threat to the data saved online (cloud). i.e., security threat
- Migrate the data to another platform (mostly from cloud to a desktop application)
Now, let us focus on the different methods to move Microsoft 365 mailboxes to Outlook PST destination.
What are the ways to export Microsoft 365 mailboxes to PST files?
In simple words, we would like to categorize the process of exporting Microsoft 365 mailboxes to Outlook PST file format into native and automated solutions.
The native solution includes the use of Microsoft 365 Admin Center eDiscovery feature for the export of Microsoft 365 mailboxes to PST, while the automated solution is third-party software that performs the export of Microsoft 365 mailboxes to PST files.
Native solution - eDiscovery Feature in Microsoft 365 Admin Center
Automated solution - Third-party professional tool
Export Using the eDiscovery Feature in Microsoft 365 Admin Center
To perform this manual solution to export Microsoft 365 mailboxes to Outlook PST file, the users should have some prior knowledge about this process. Its main limitations are:
- Multiple steps and lengthy procedure
- Works with Internet Explorer or Edge browser only
- Great attention is required to store the export key as anyone can use it to download exported PSTs
- Vulnerable to manual errors such as skipping a step, incorrect information, etc.
- Exported PST files are not protected with any password
Let us know the steps to export Microsoft 365 mailboxes to PST using the native solution.
- Log in to Microsoft 365 account with global administrator credentials. Click on the Admin option.
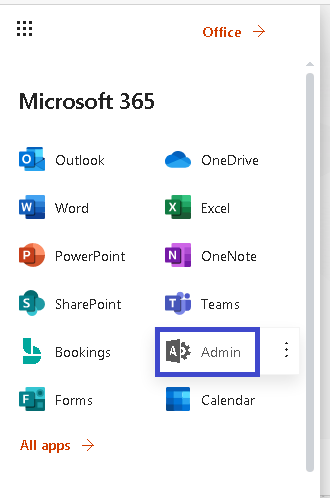
Launch the Admin Portal - Now, click on the Security option under the admin center section on the left panel.
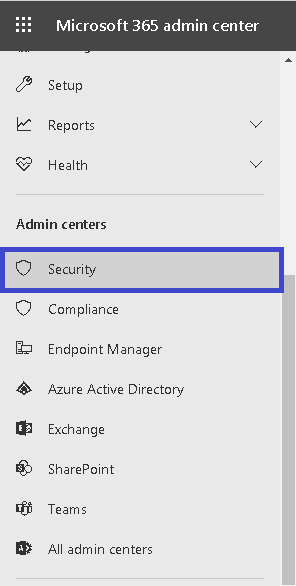
Click on Security - On the Office 365 Security & Compliance Center page, click Permissions on the left panel and then select the eDiscovery Manager option from the right panel. To add the details, click on the Edit option.
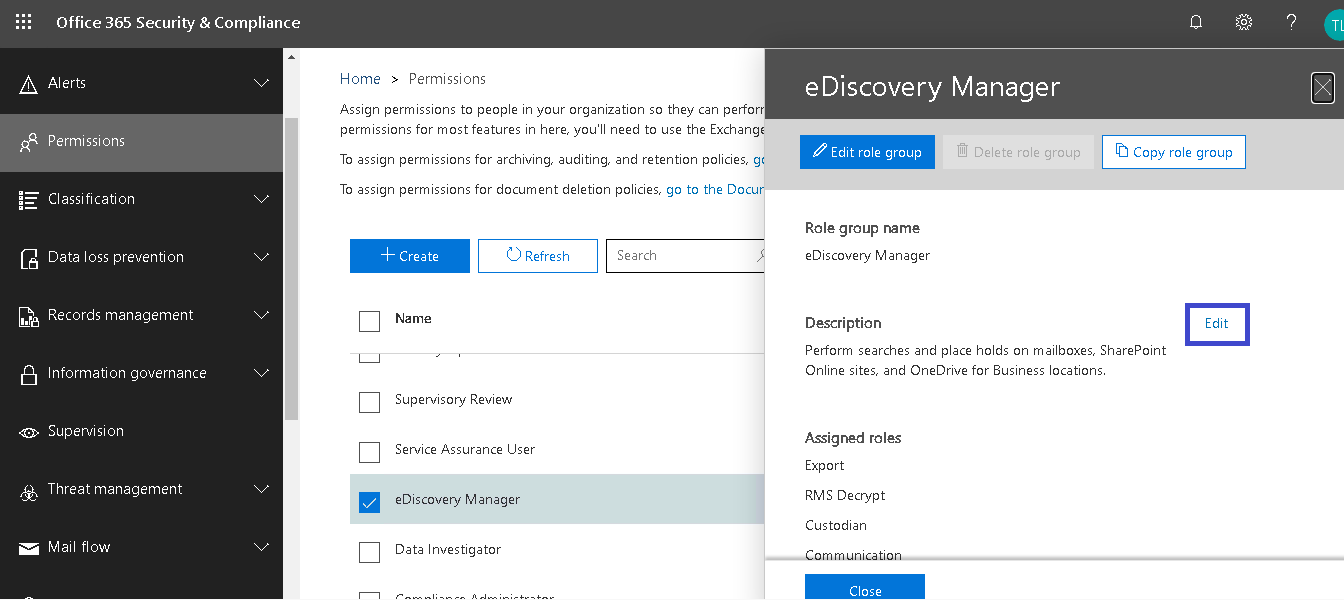
Go to Permissions - Click Choose eDiscovery Administrator > Choose eDiscovery Administrator.

Choose eDiscovery Administrator - From the list of the users, select the administrator account, and add it. Click on Done.
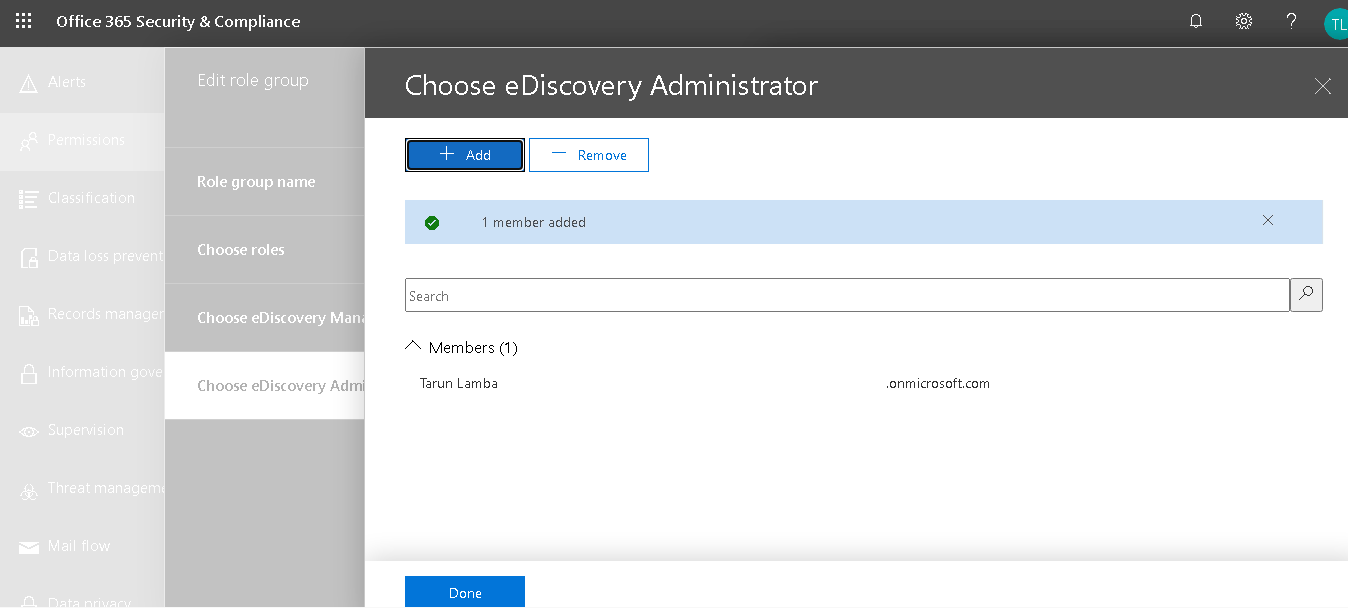
Select the administrator account - Now, from the left panel again, select Search > Content search.

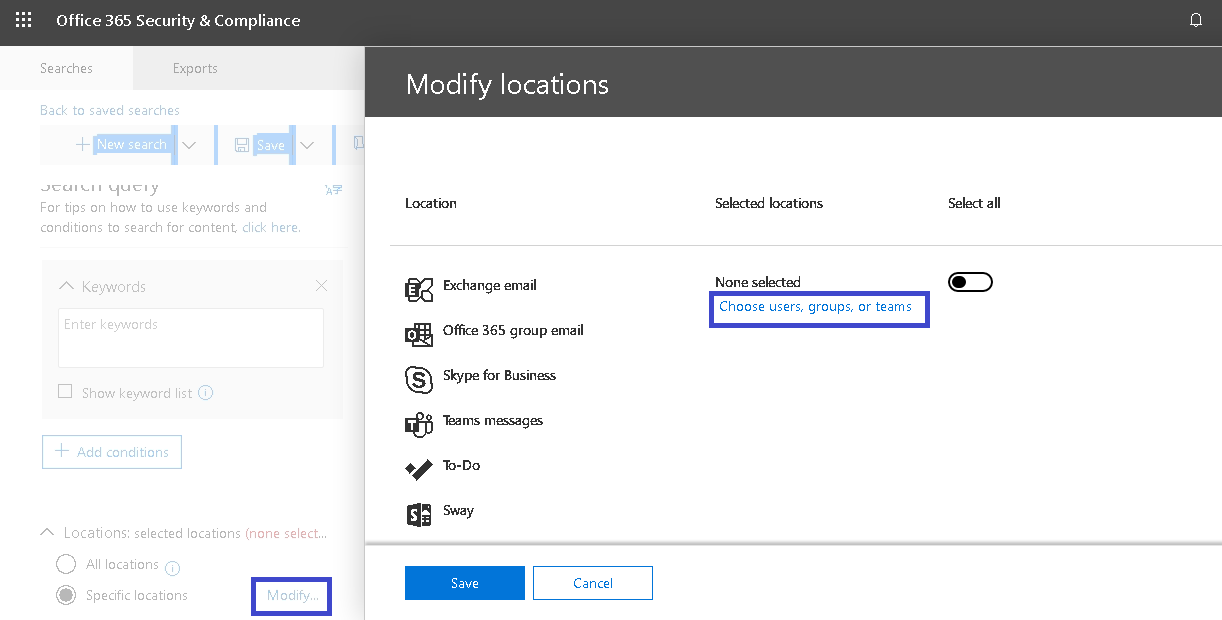
Go to Content Search - Click on New Search option. Under Search Query, users can choose specific keywords and locations to add desired mailboxes. To choose from the locations, click onModify link against Specific locations option. Then click on Choose users, groups or items link or drag the toggle switch to select all and then click Save.
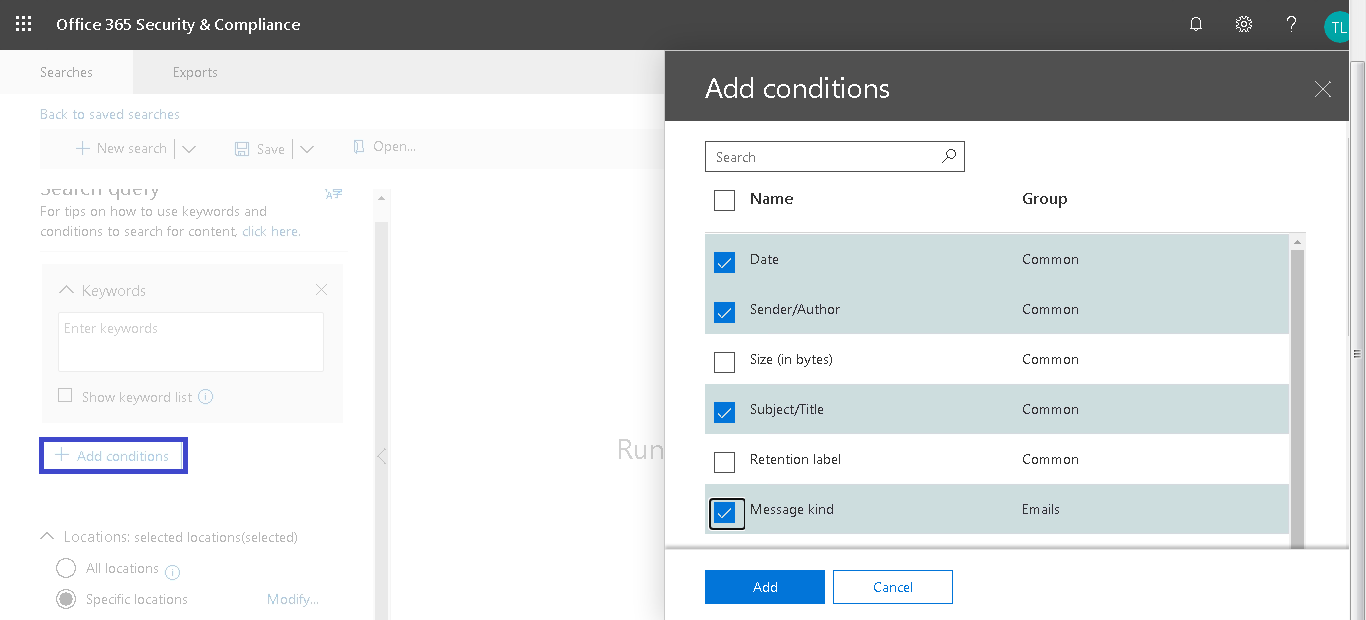
Enter search query - To add certain mailbox items only, click on Add conditions option and chooseDate, Sender/Author, Subject/Title, etc. conditions as per your choice to filter the data. Click Add to add the conditions.
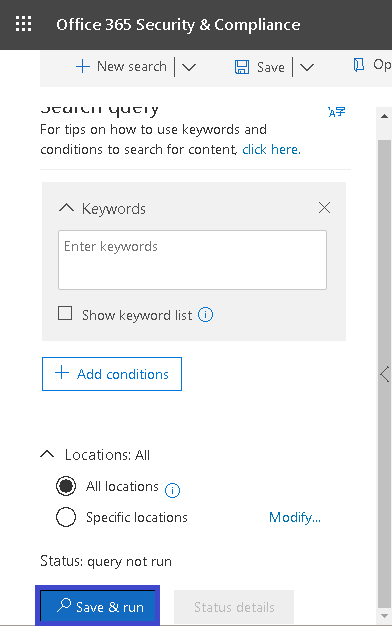
Add conditions - If you want to export complete mailbox items from the account, then leave as it is and then click on Save & run option.
Save and Run - A prompt will appear asking to provide the name and description for the search.
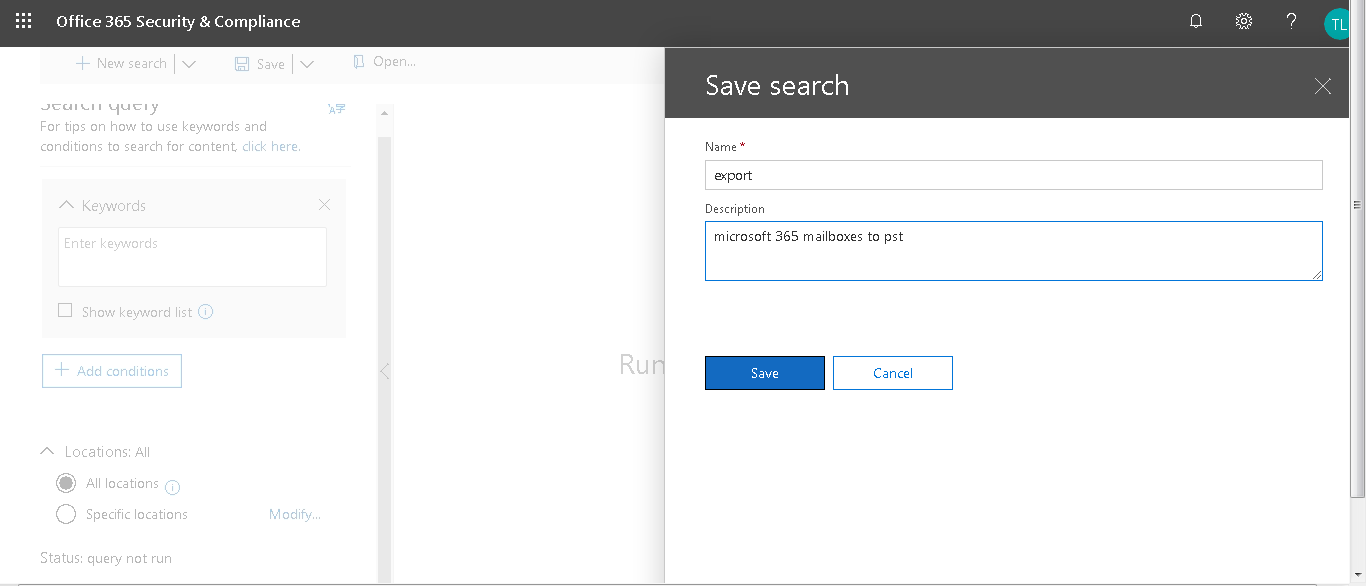
Add a name for the search - The search for the mailboxes will get started. Go to the Content Search page again, select your search and follow More>Export results
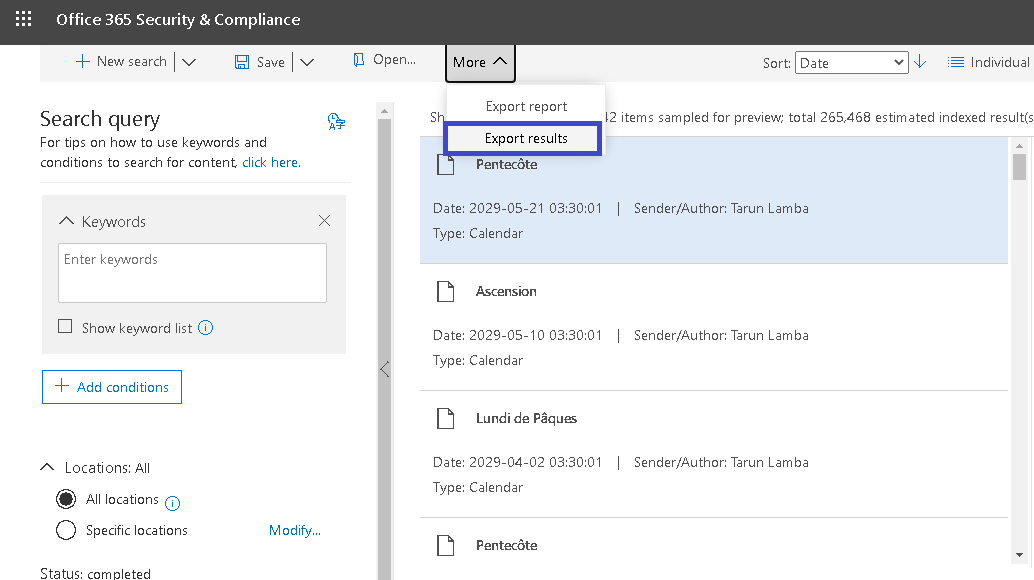
Export results - On the Export results page, select the desired option from the output options and click Export.
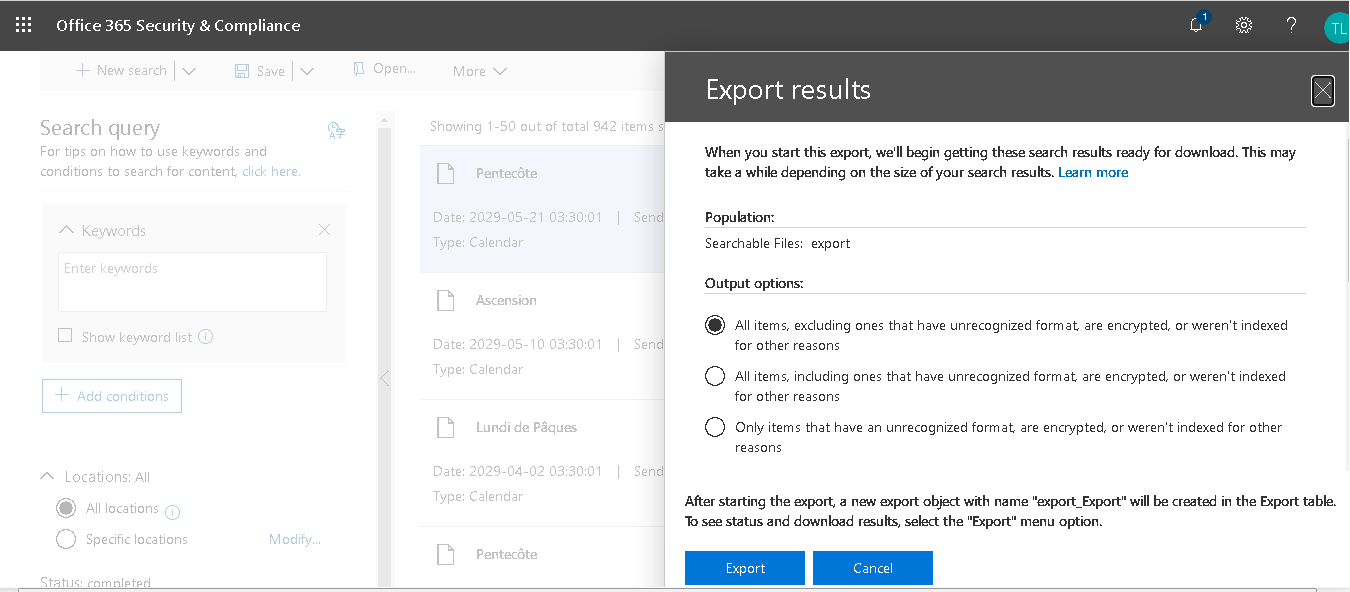
Export - The export will get started. Move to the Exports tab, select the mailbox and click on the Download results page which will download the eDiscovery PST export application on your system. Then click on Copy to clipboard link for copying the export key.
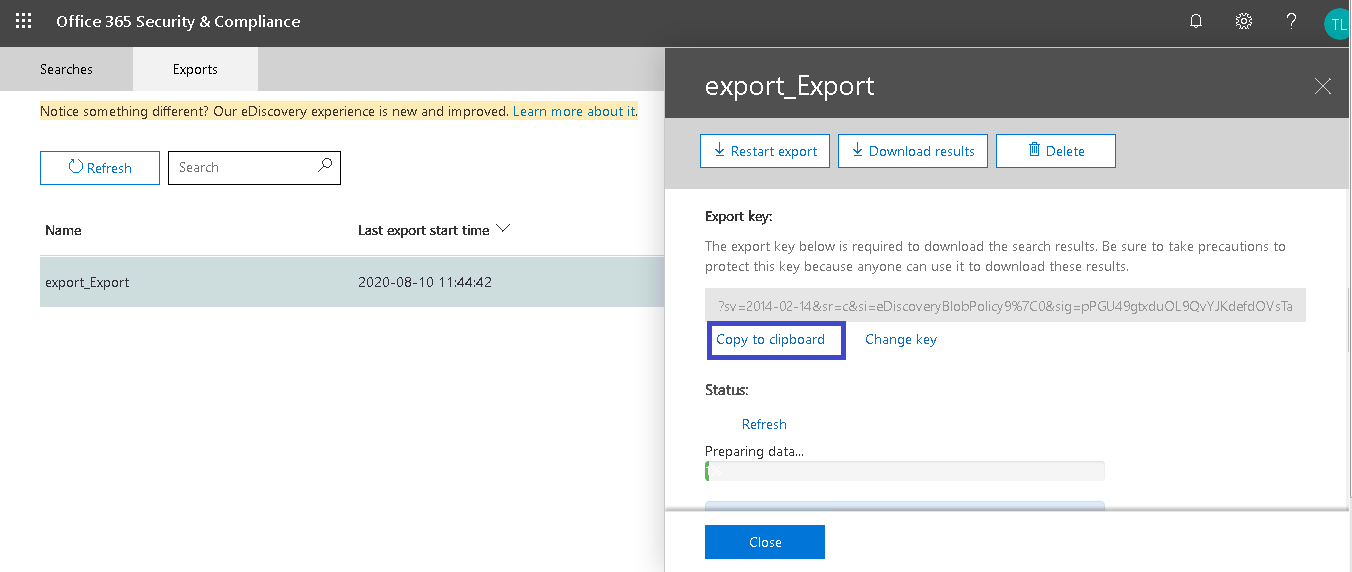
Export key - Now, install the eDiscovery PST export application on your system.
- On the application interface, the user needs to paste the copied export key in the earlier step and then click on theBrowse option to specify the saving path for the exported PST files. Then click on Start.
- The PSTs will get start saving at the defined destination location.
- After a while, the export will get completed.
Export Using an Automated Tool - Kernel Office 365 Backup & Restore
This export is using a professional third-party tool that can export Microsoft 365 mailboxes automatically to PST format files.
Kernel Office 365 Backup and Restore tool can be used to export Microsoft 365 mailboxes directly to Outlook PST file with minimum effort. Know some of its advanced features.
- Microsoft 365 mailbox backup to Outlook PST files
- Simple and easy-to-use Graphic User Interface
- Exports M365 shared mailboxes, groups, public folders, archived mailboxes
- Item and folder filter options for flexible export
- Restores PSTs to Microsoft 365/Exchange Server mailboxes
- Backup on-premises hosted Exchange mailboxes as well to PST files
- Bulk export and restore with the use of CSV file
- Completes export process without installed Outlook application
- Allows export or back up to an existing or a new PST file
- Offers multiple instances to run and supports incremental migration
- Support to all Microsoft 365 plans and Exchange versions
- Backup to more formats - HTML, EML, MHT, DOC, DOCX, PDF, & MSG
- Free demo version for a trial before purchase
While analyzing both methods (native and automated) solution, there is always an upper hand to the automated tool as it provides the facility for quick and efficient export. The Kernel tool is the best alternative to archive mails in Microsoft 365 too.